No one knows you better than yourself. Yet, the average person struggles to write a personal bio.
Say goodbye to your writer’s block and let our Content AI craft your professional personal bio that creates a memorable first impression. Our Content AI includes a dedicated AI tool to create a compelling personal bio tailored to your unique personality and achievements.
In this knowledgebase article, we will show you how to create a personal bio with Content AI.
Table Of Contents
1 Creating a Personal Bio
Let us see how to create an outstanding personal bio using Content AI.
1.1 Enable the Content AI Module
The first step is to head over to Rank Math SEO → Dashboard → Modules from your WordPress dashboard. Here, scroll down to find the Content AI module and enable it as shown below if you haven’t already.
Note: If you ever run out of credits, you can easily subscribe to a Content AI plan that aligns with your requirements.
1.2 Select the Personal Bio AI Tool
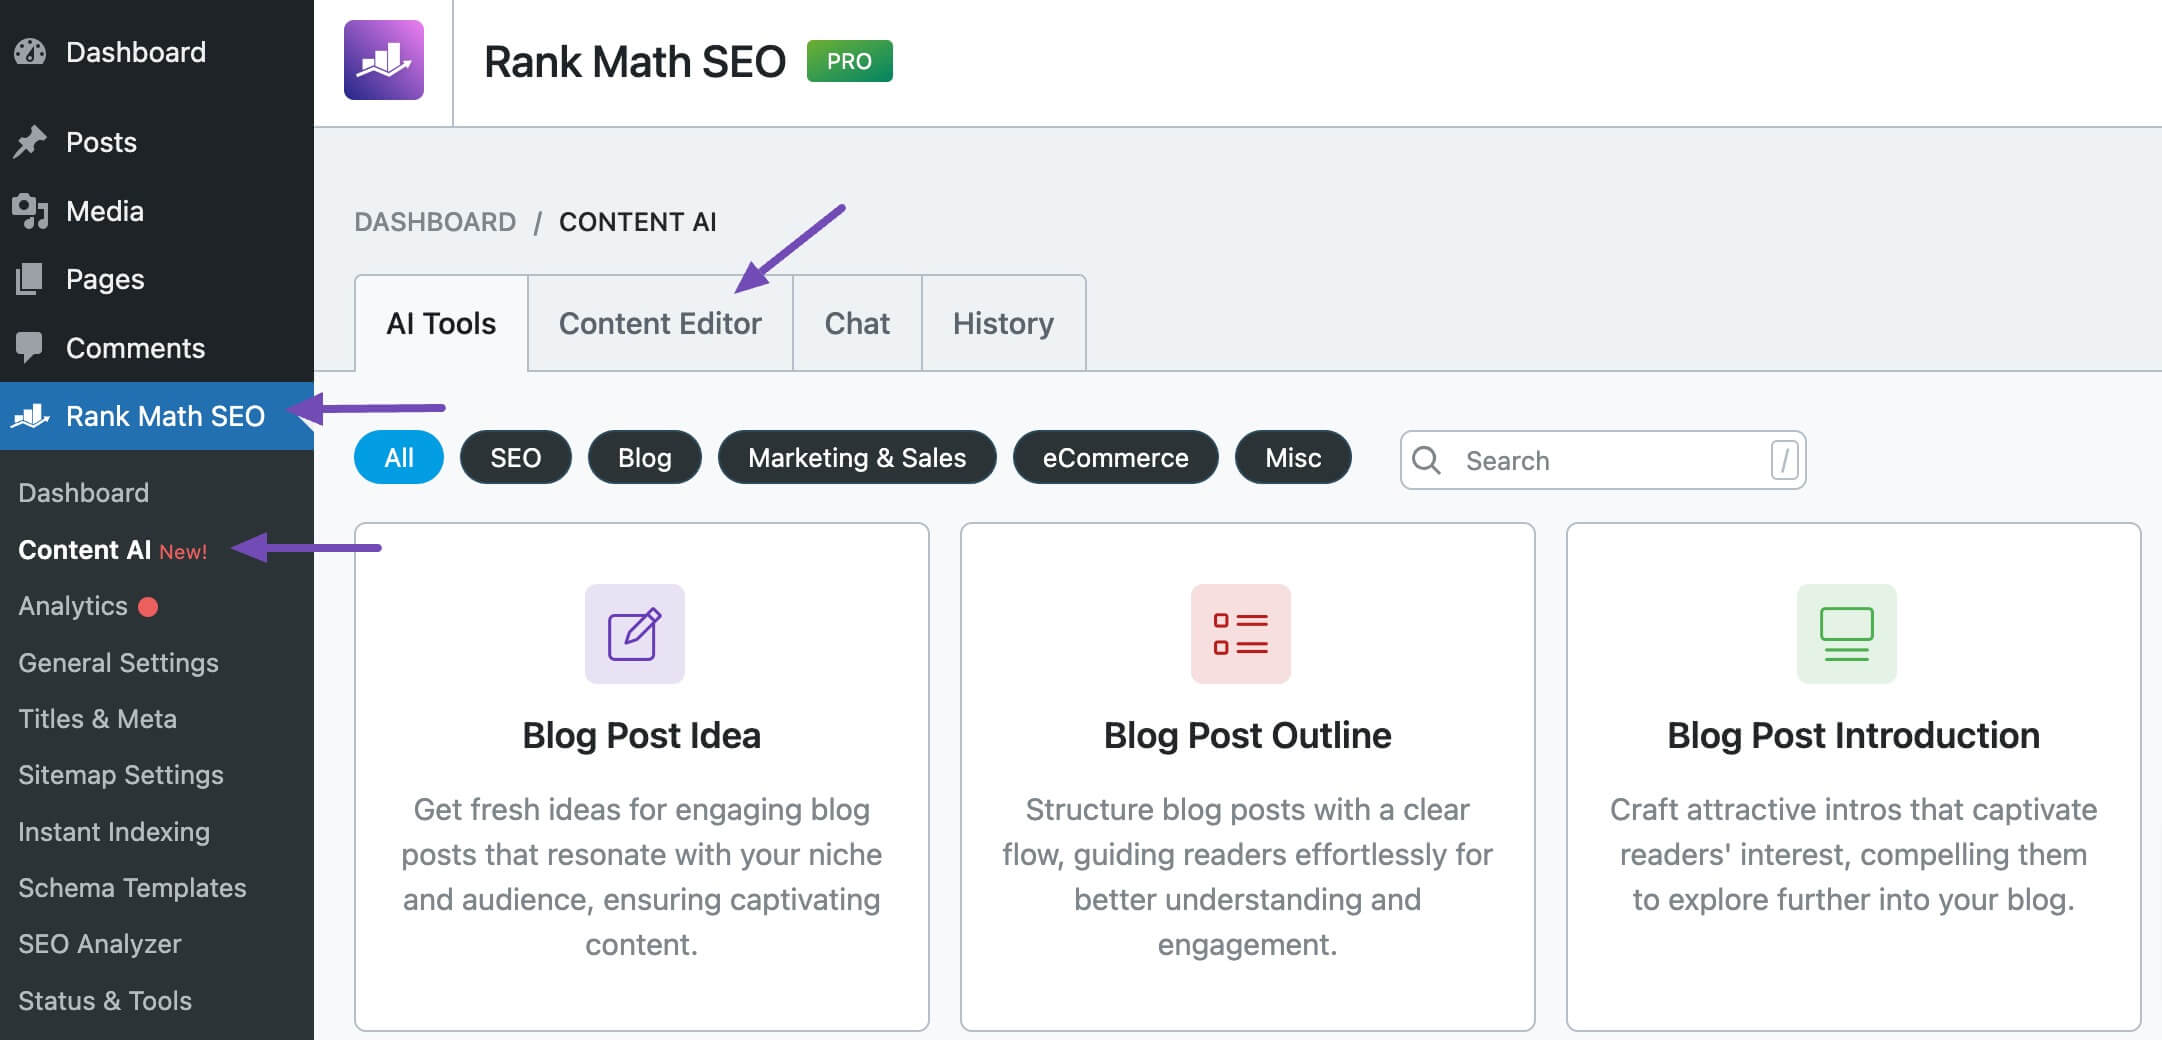
Next, head over to Rank Math SEO → Content AI → Content Editor, as shown below.
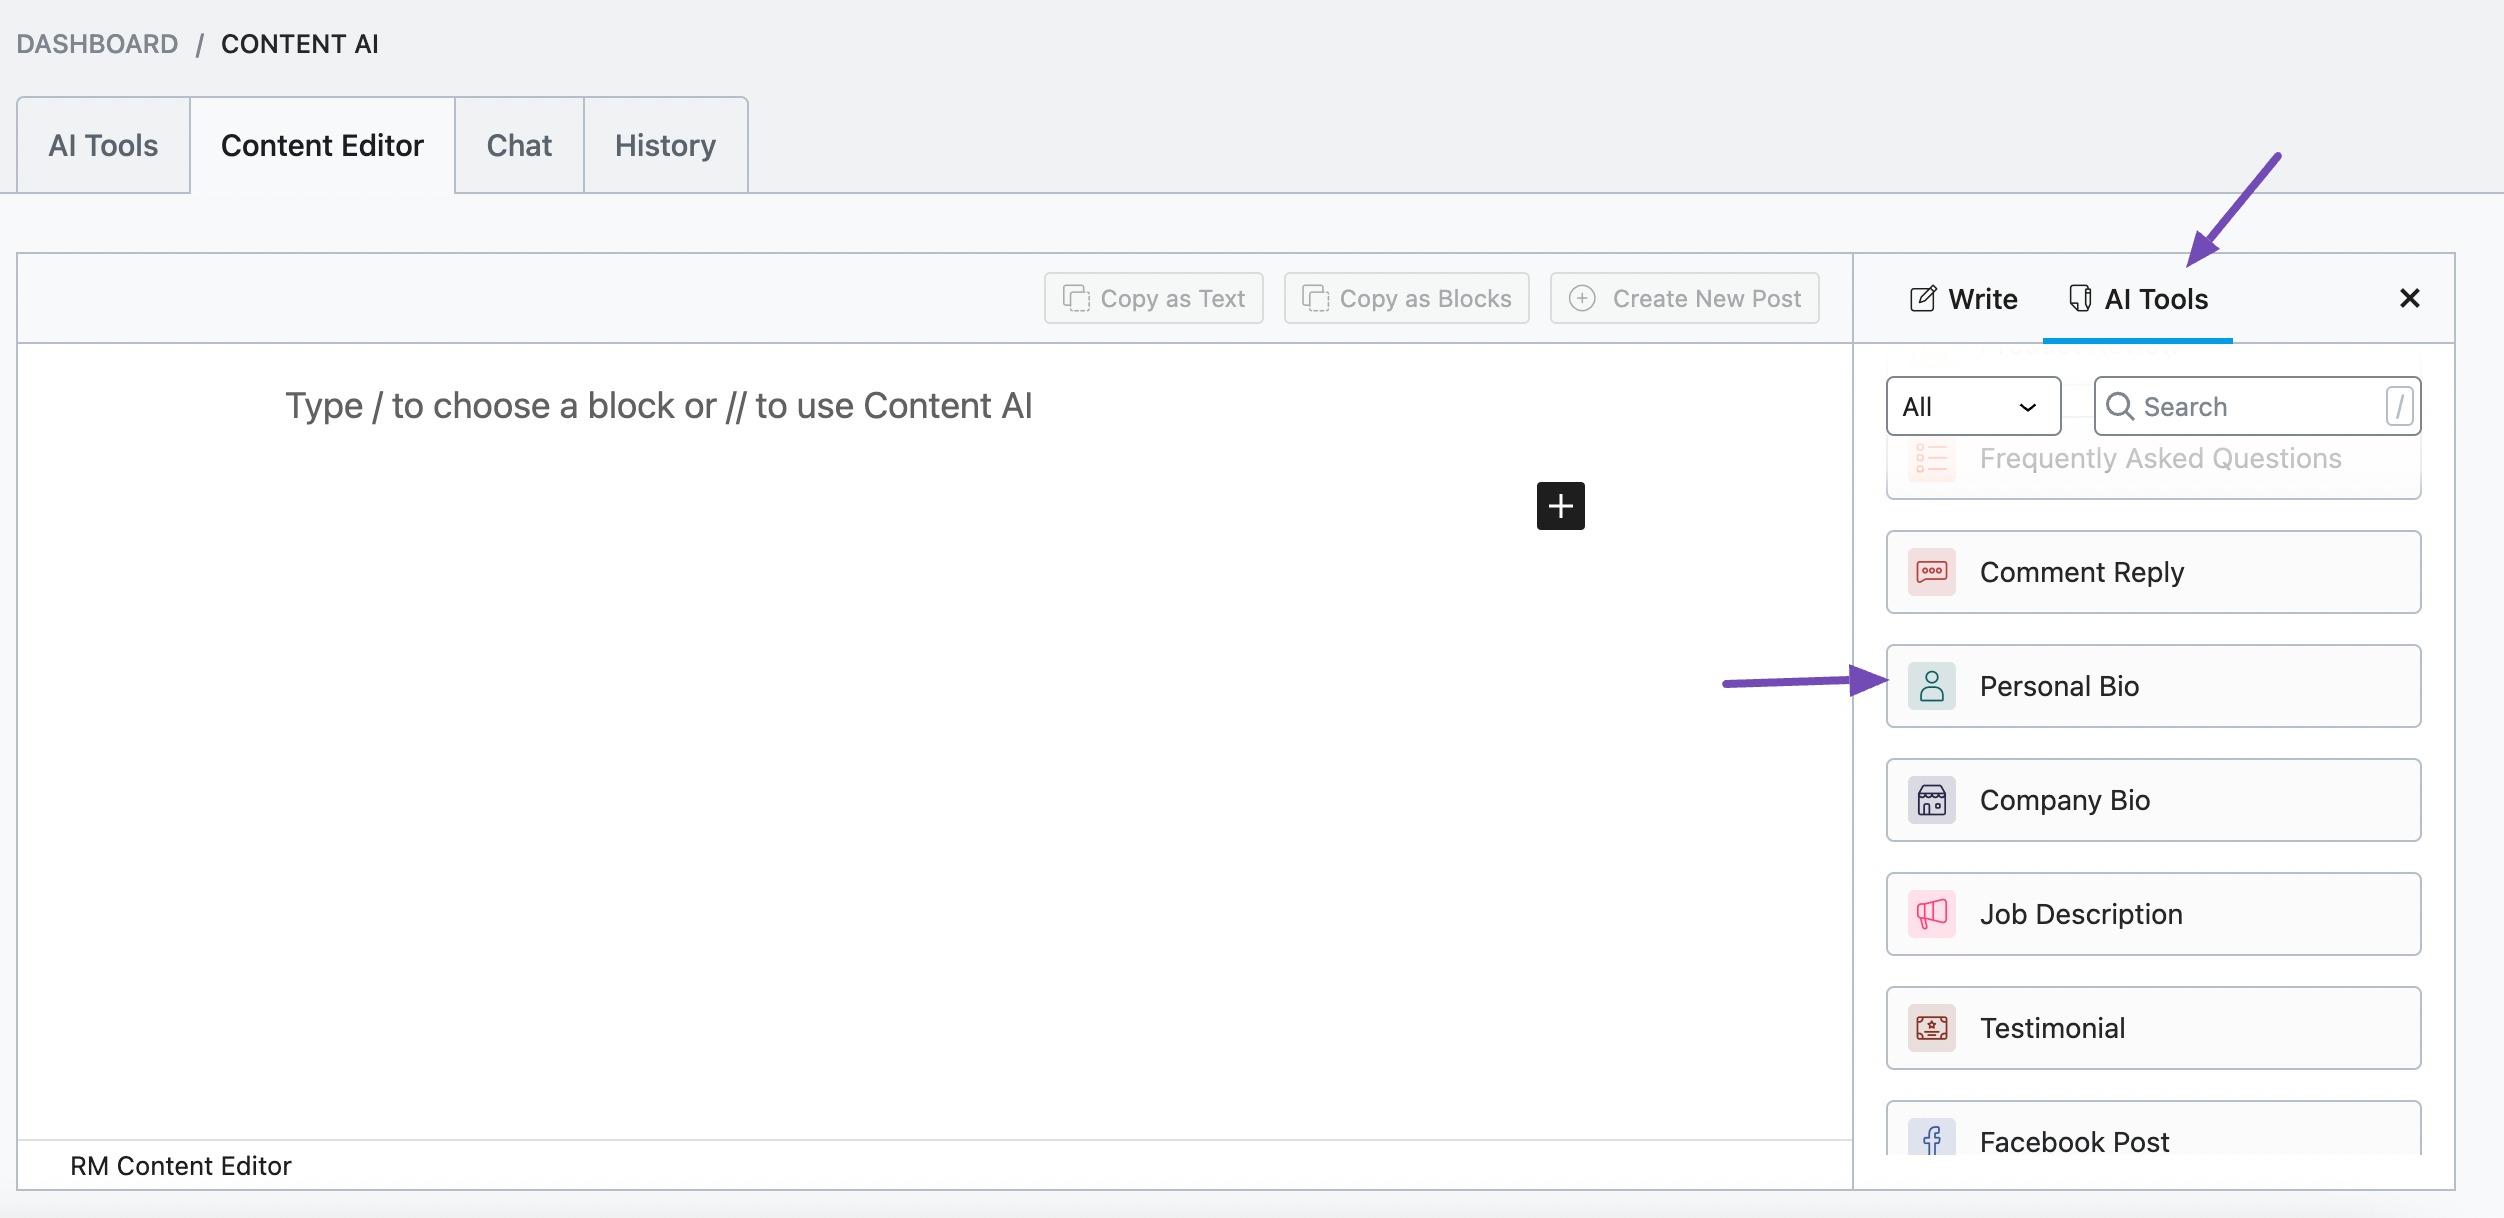
In the Content Editor, click AI Tools and select Personal Bio. Alternatively, you can choose the Personal Bio AI tool from your favorite WordPress Editors or from the AI Tools tab, whichever suits your writing flow.
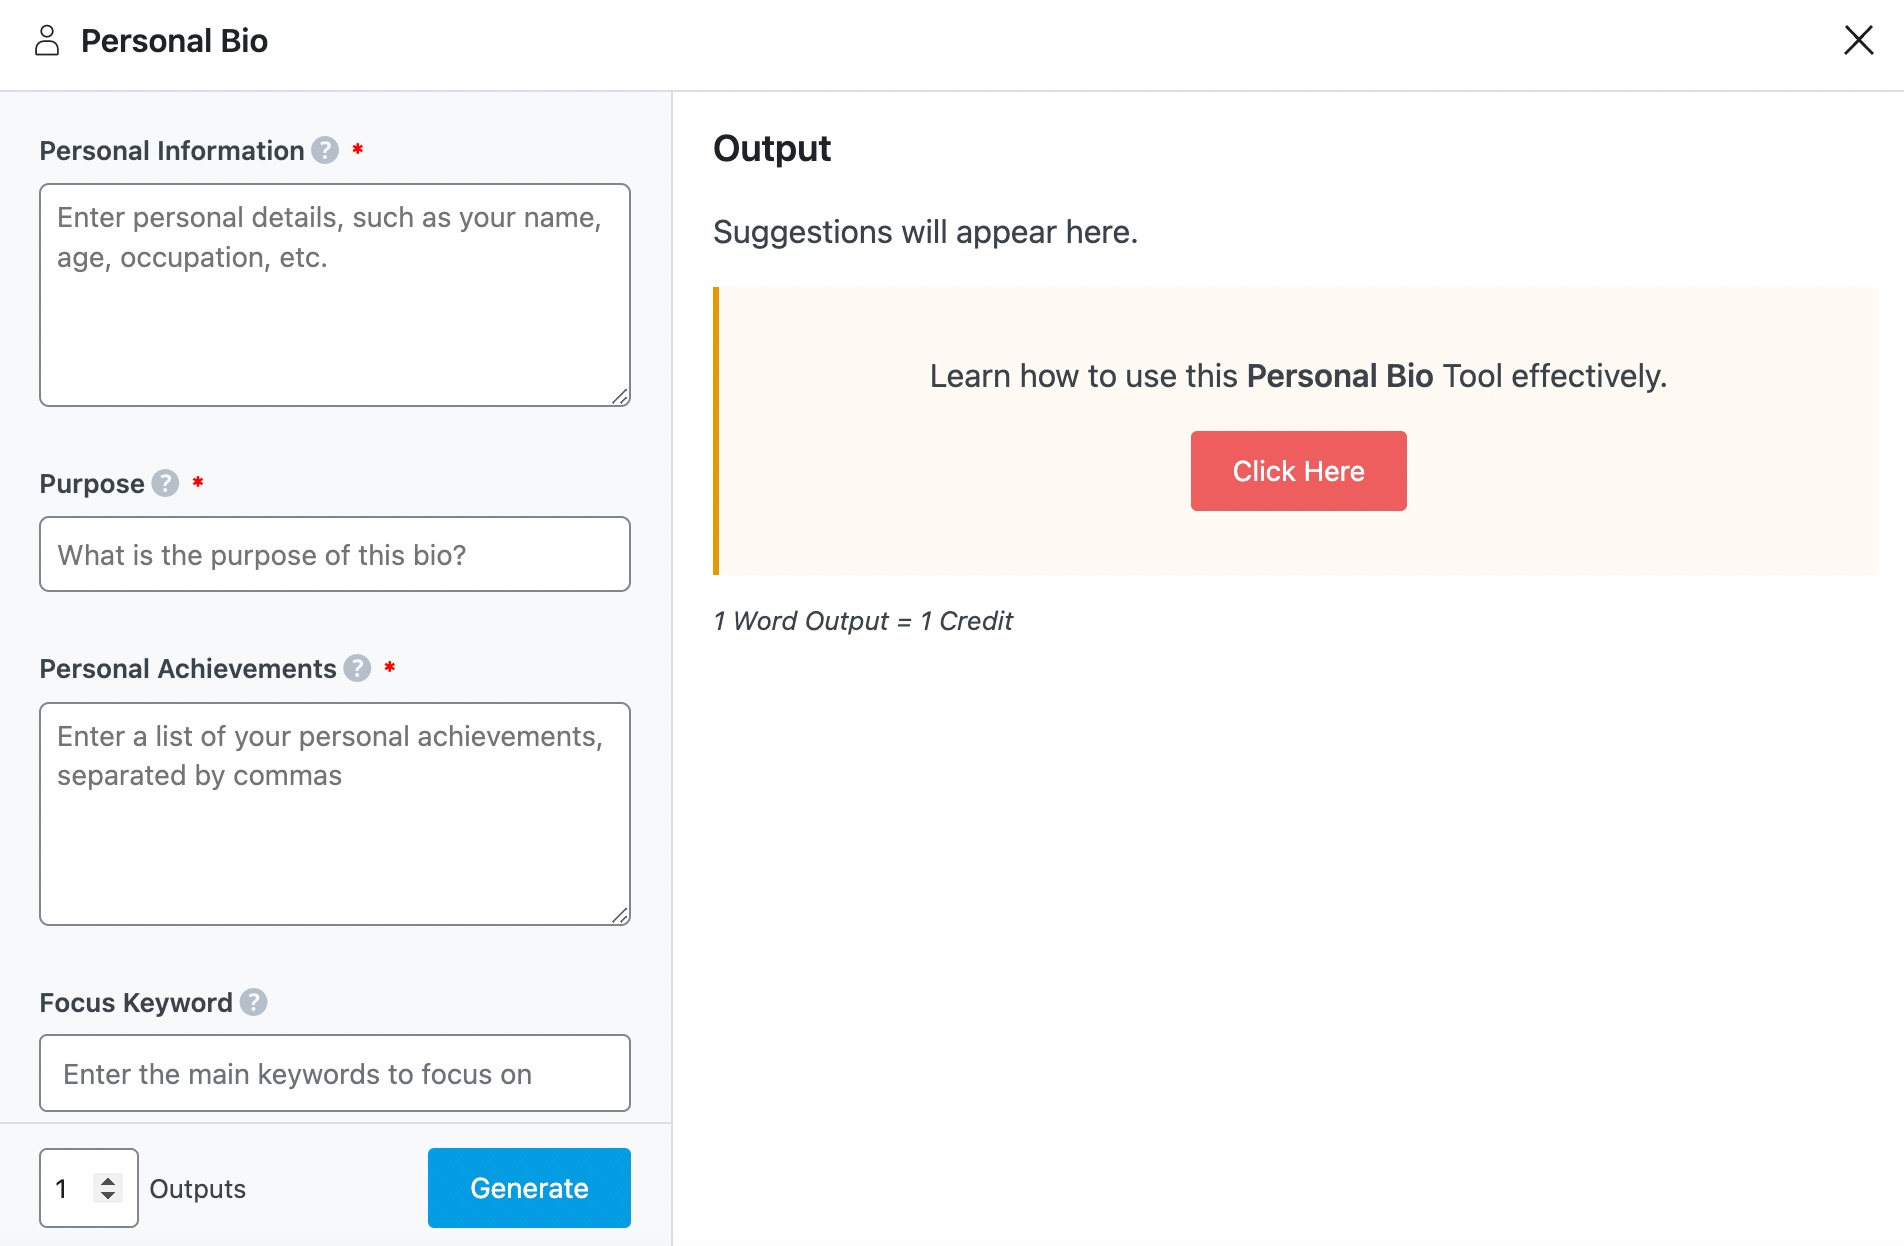
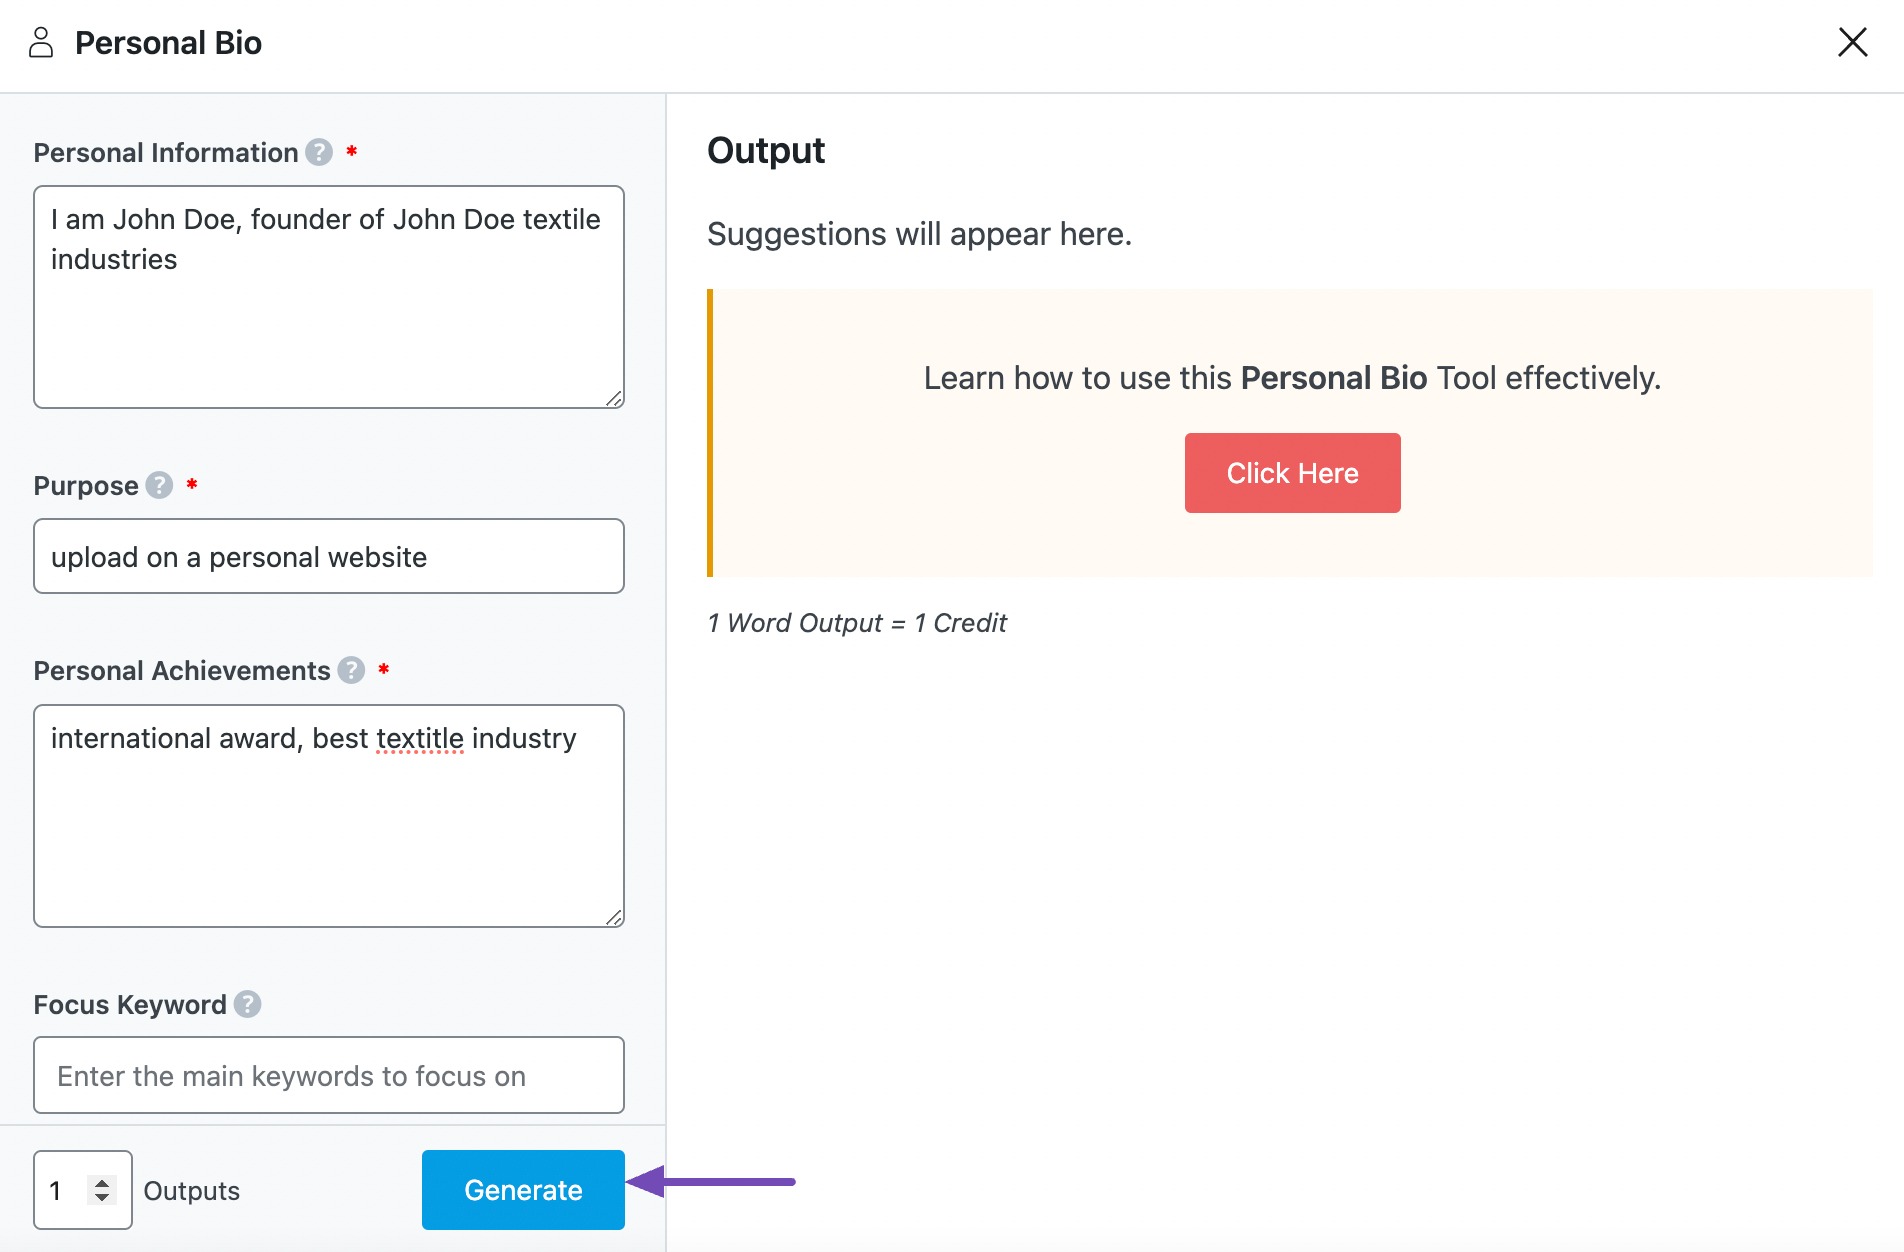
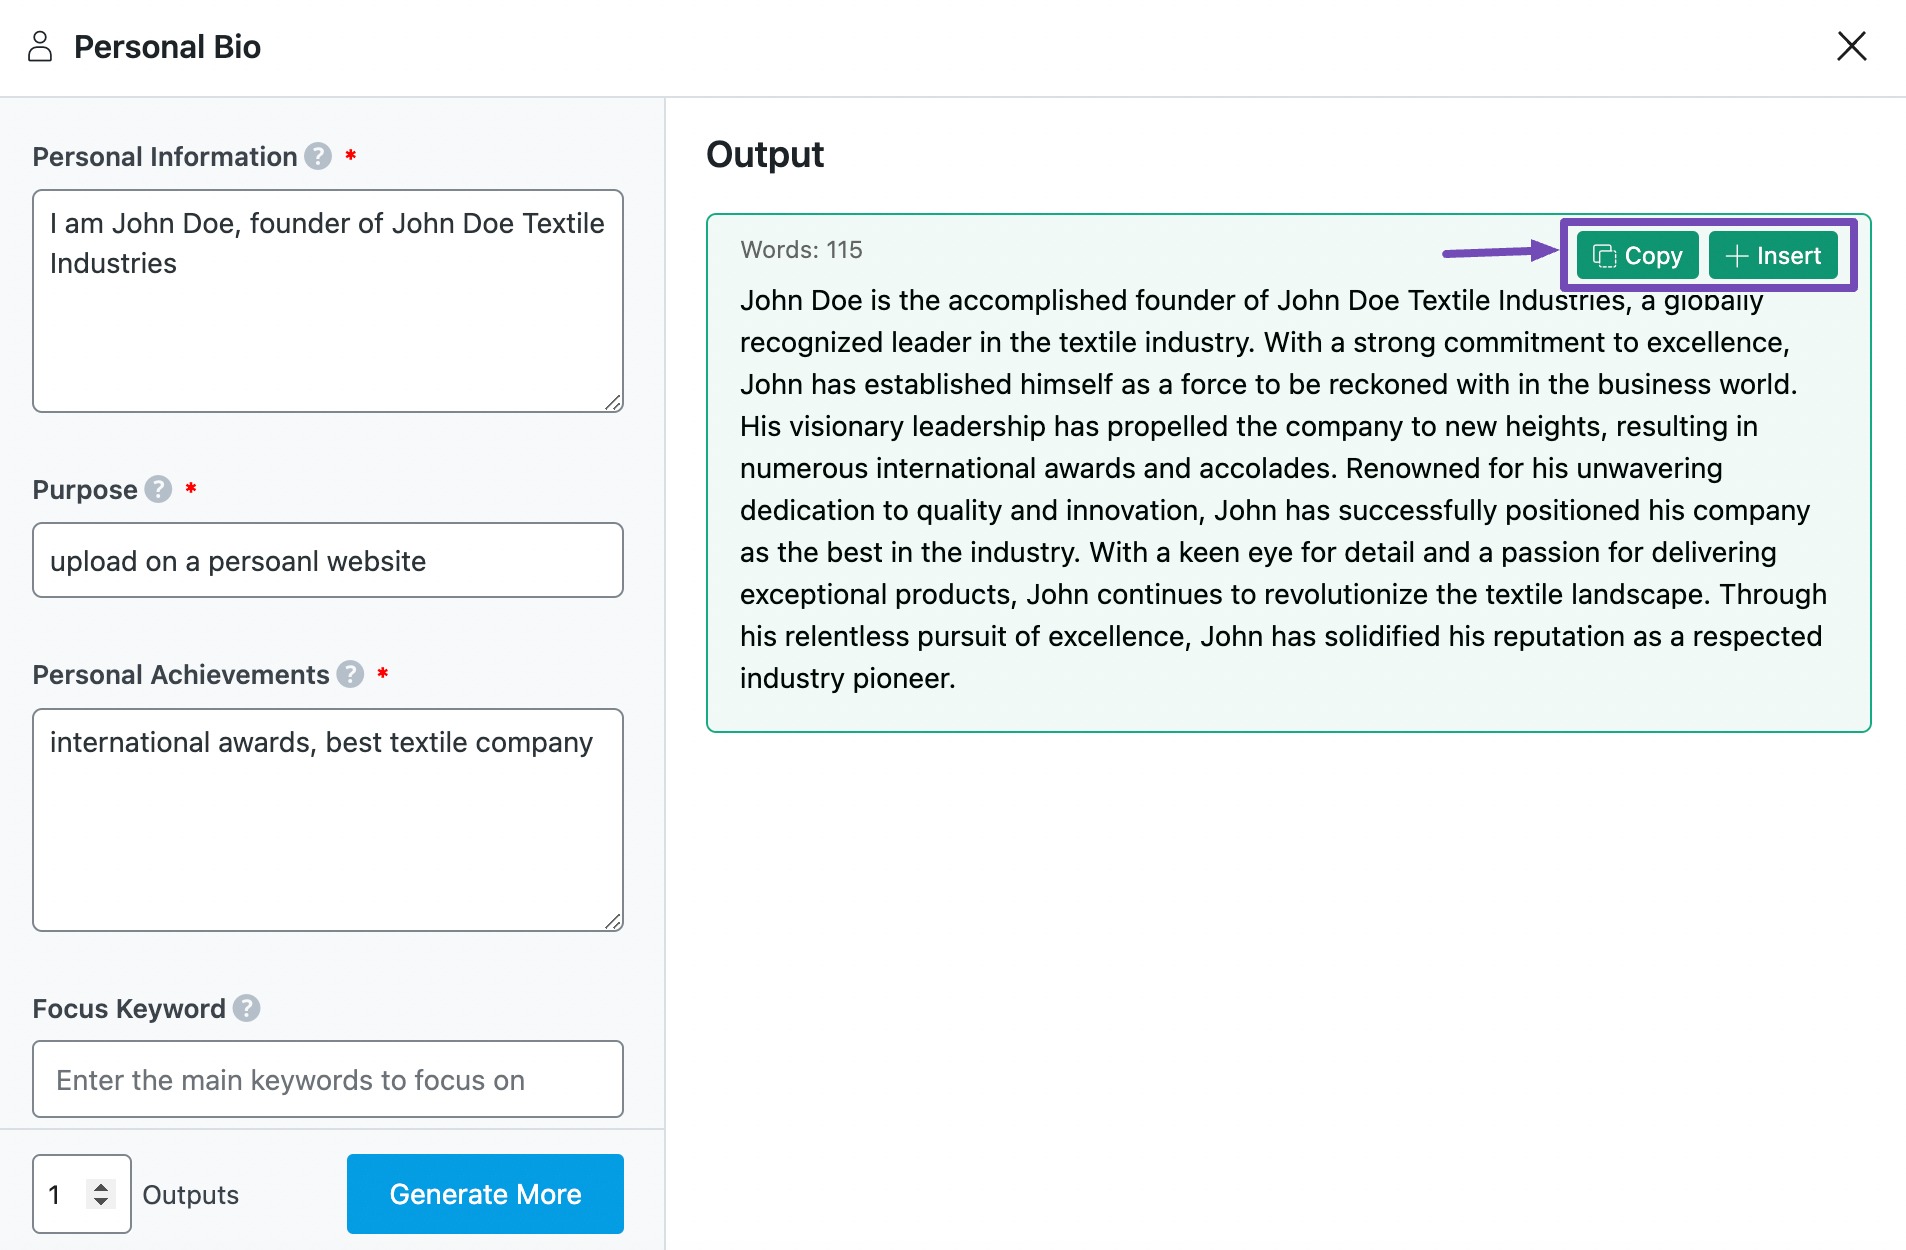
You will be presented with the Personal Bio AI tool settings. Let’s discuss each of these fields one by one.
2 Available Options in the Personal Bio AI Tool
We’ll now discuss all the available options in the Personal Bio AI tool.
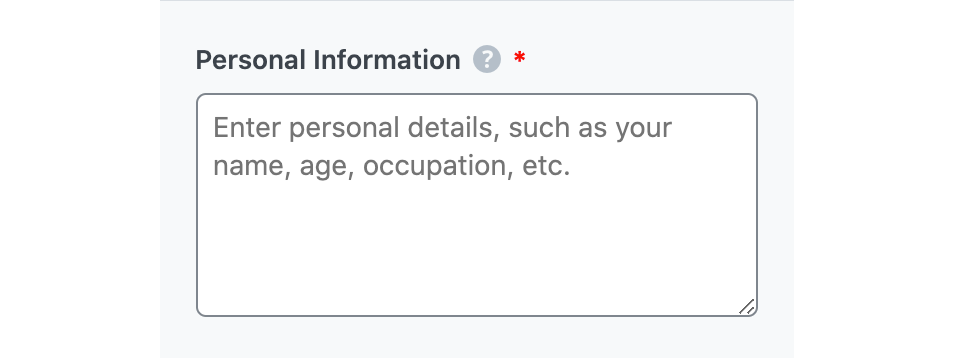
2.1 Personal Information
Enter the details you want your readers to know about you. You can enter your name, what you do, and where you work. This is a required field and should contain 400 characters or less.
2.2 Purpose
Where do you intend to use the personal bio? Is it on your resume, on your business website, or in an email? In 200 characters or less, enter it into this required field.
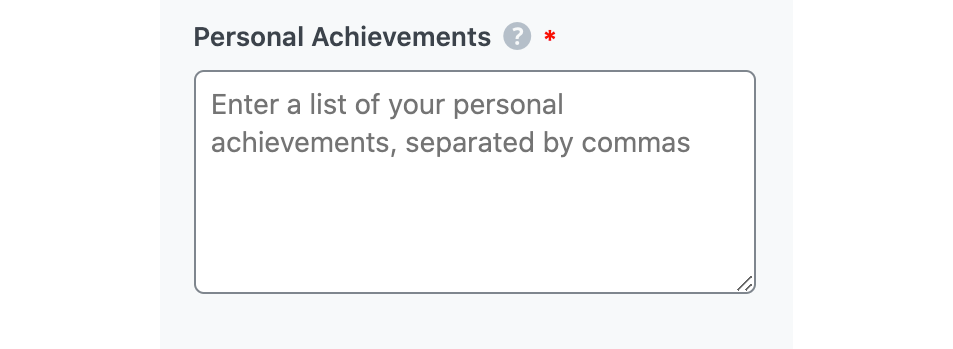
2.3 Personal Achievements
Enter the positive things you want anyone reading the personal bio to know about you. This is a required field and should contain no more than 400 characters.
2.4 Focus Keyword
Enter the keywords you want Content AI to include in the bio. Content AI will include the word or its variation in the output. The keywords should be at most 200 characters in total. Remember to separate multiple keywords with a comma.
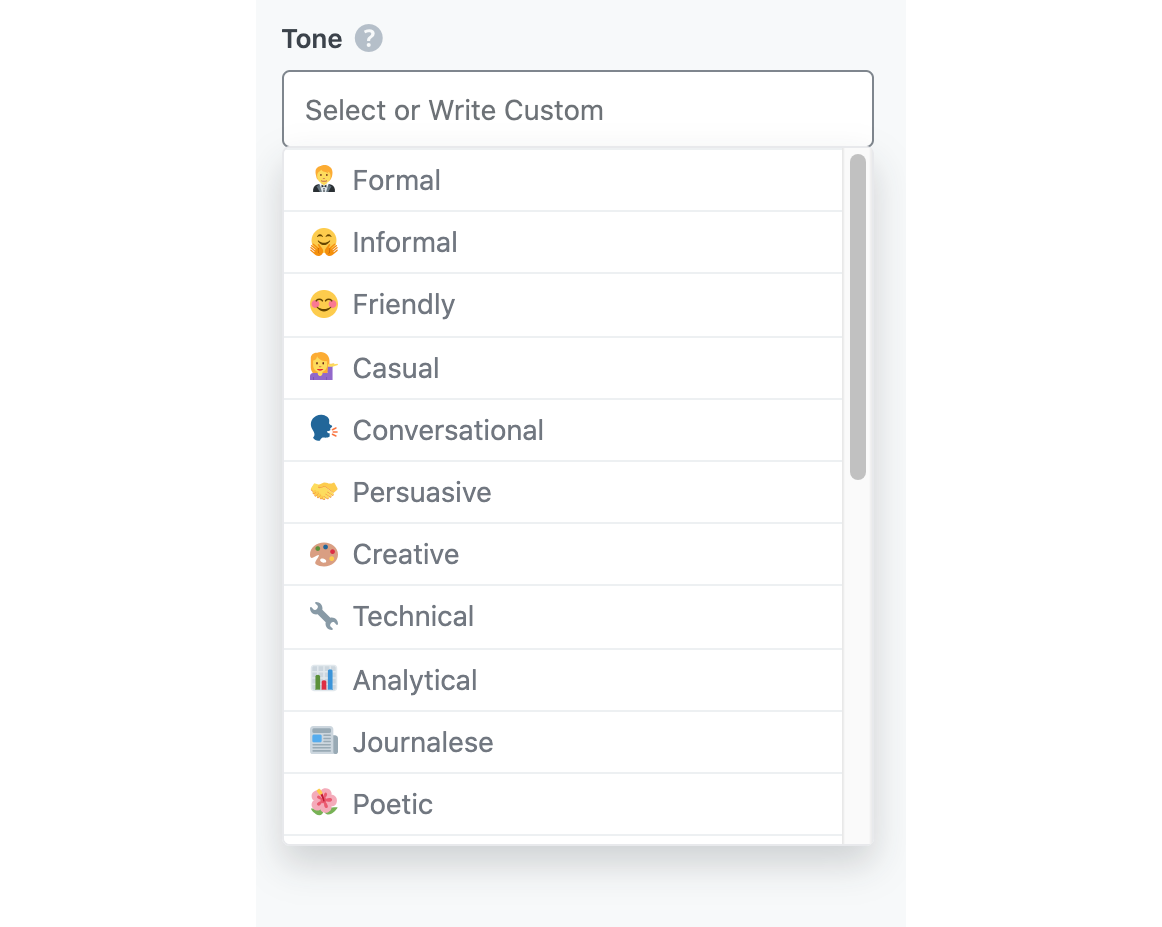
2.5 Tone
Choose the option that best describes the writing tone. You can select one from the dropdown menu or choose a custom option. You can add multiple tones.
See the full list of all the Tone options we offer ➜
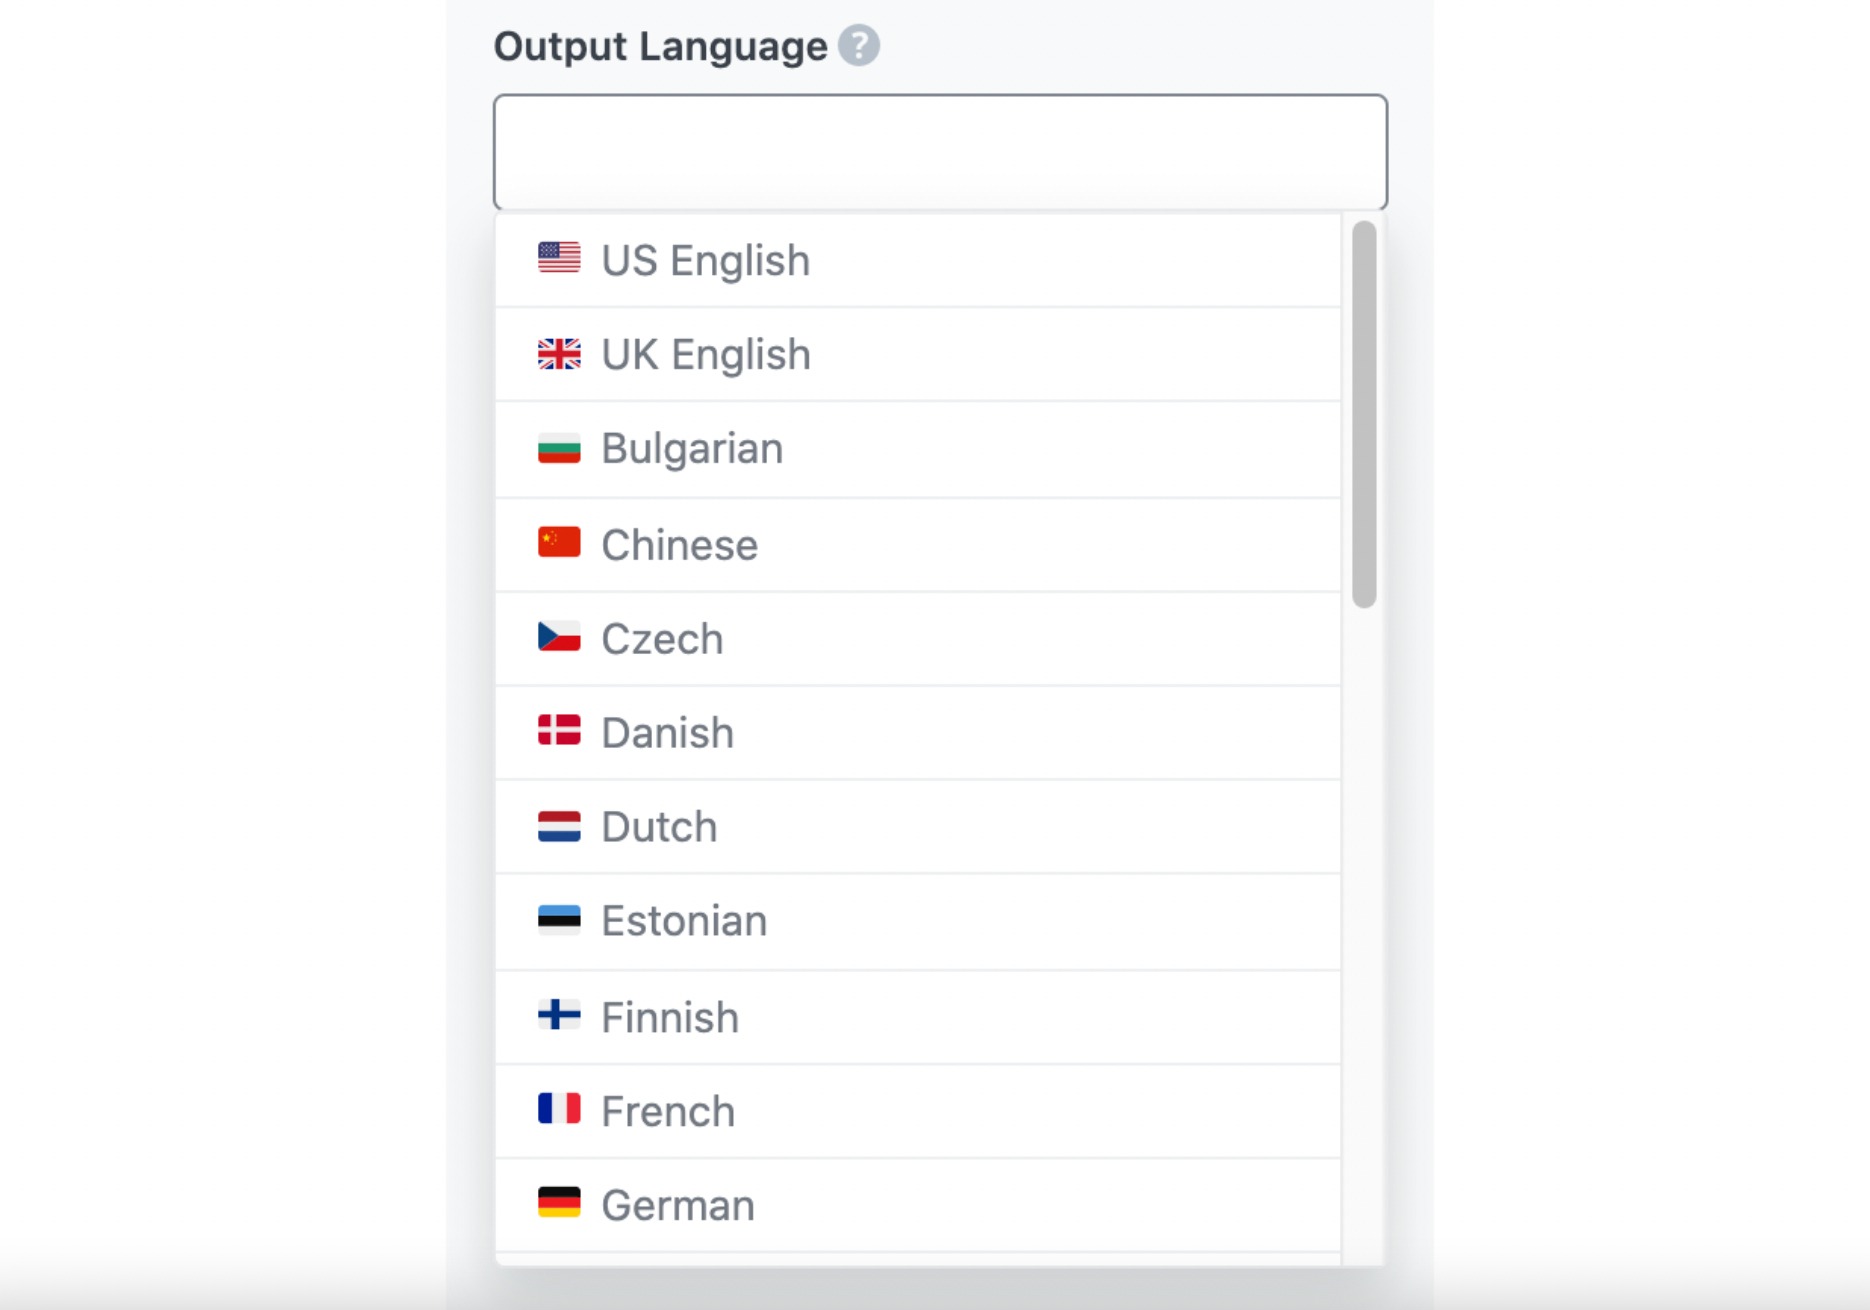
2.6 Output Language
Choose the output language in which you want Content AI to generate the personal bio. You can only enter one language. If the field already contains a language, delete it and select a new one.
See the full list of all the Output Language options we offer ➜
2.7 Generate
Click Generate after filling in the required fields. Content AI will begin generating your personal bio.
If you need more suggestions, click Generate More.
2.8 Copy or Insert
After creating your personal bio, hover over it and click Copy or Insert.
- Copy will copy the personal bio to your clipboard. You can then proceed to paste it elsewhere.
- Insert will insert the personal bio into the Content Editor. You can also improve it using the other AI tools available in the Content Editor.
3 Conclusion
We hope the tutorial helped you craft your professional personal bio. If you still have any questions about using the Personal Bio AI tool or any other AI tool available in Content AI – you’re always more than welcome to contact our dedicated support team. We’re available 24/7, 365 days a year…

